

However the difference from this to my other design is that I need to draft out three pages to stick to one another. I did this by going onto the Pages tab, and in the options part I unchecked "Allow Document Pages to Shuffle". I then create another page - only one this time - and dragged it to where the other two pages were.

Now I need to create a rectangle for the Insert (as it's slightly smaller than the dimensions of the pages) and I did this by selecting the Rectangle tool and instead of drawing, I just click onto the page. I made the following adjustments, and placed it onto the page where the insert would be. I then create another two rectangles to form the flaps. I placed them so that they were all aligned.

I Placed the illustration onto the document on the front page. Drawing out another rectangle over the second page, I Placed the illustration into this so that it wouldn't go outside of the box. I shifted it so that it would be aligned with the front.

Now it's time to work on the type! I followed the same process as I did before; by placing the image onto it and then using the type tool for "Unbroken", adjusting the kerning.
When I placed the song list on the back page, I realised that it would be quite hard to see the lettering because of the lines in the back. To resolve this problem I drew a thin white border around the words so that it'll subtly bring them out a bit. I did this by double clicking the type tool at the bottom left (the little box where the colour swatches should be) and then changing the transparent one to white.

So I have this so far:

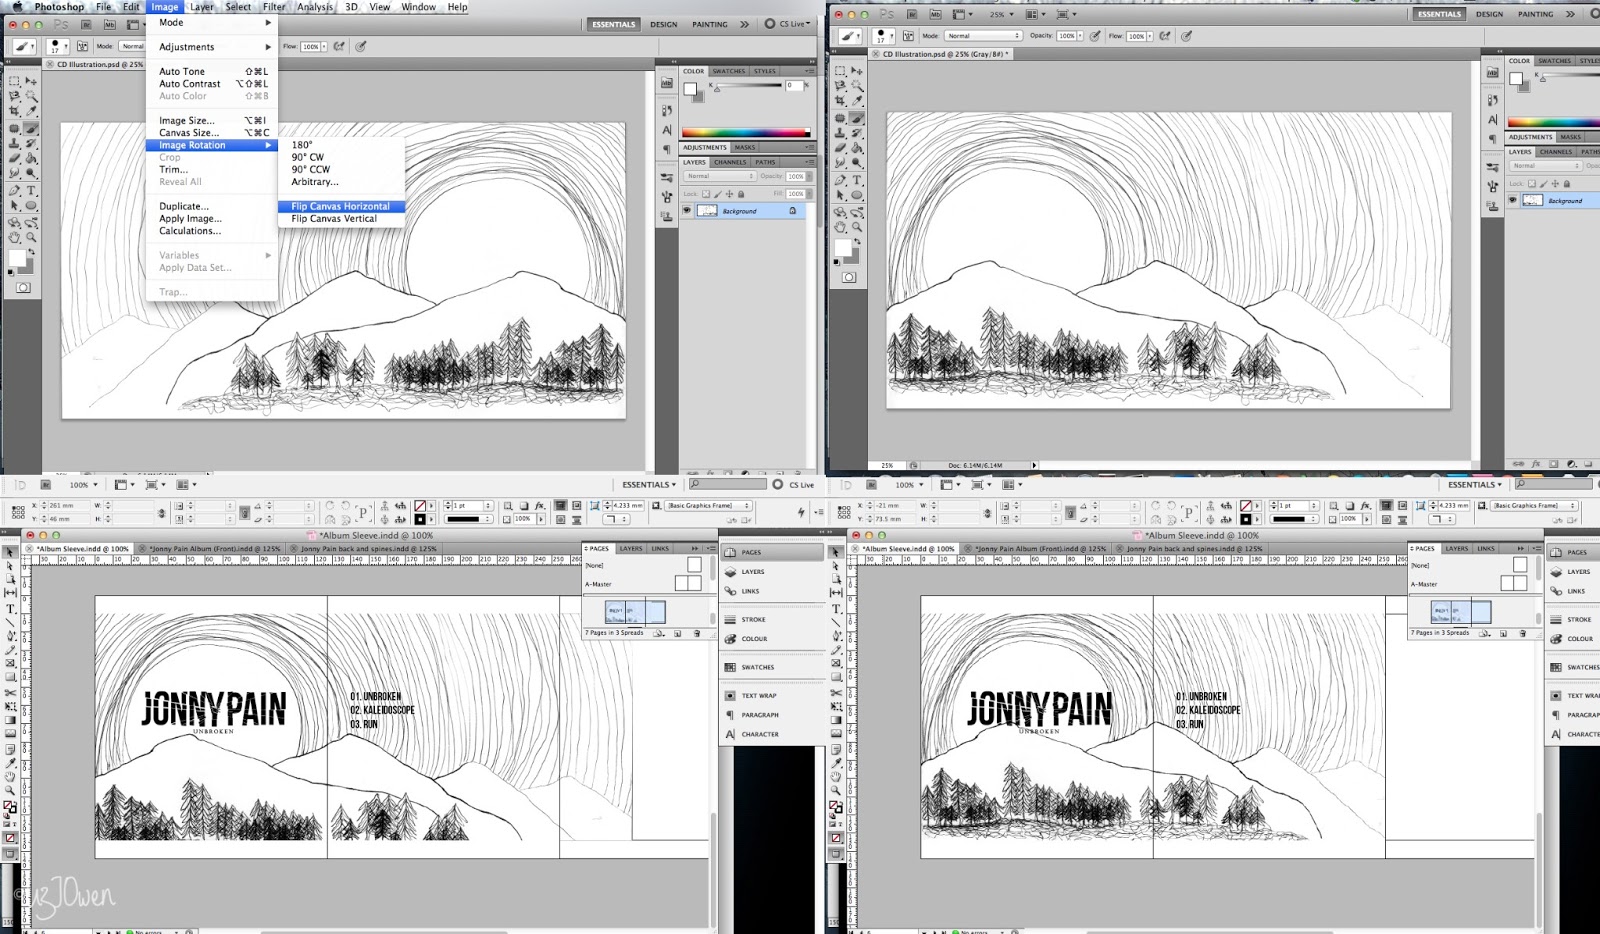
I then printed out the design and... Realised I made a stupid mistake. Because of the way everything was laid out I figured that the illustration had to be flipped in order to fill across the two covers! And, another stupid thing I did was that the dimensions of the covers was obviously going to be smaller as I drew up the dimensions of what they would be INCLUDING the tabs! Such an idiot. Whoops.
I went onto Photoshop and opened up the illustration, and then flipped the image horizontally. I saved it as a new file and placed it back into InDesign where I made sure I used the right dimensions this time.
Now it's time to think on how I want the Insert to look like. I want to put the logo somewhere onto the design so I thought it was best to start by putting it there.

I think the design I'm going to pick is the one at the top; the logo isn't too large that it overpowers the whole design, and the black background of the bottom design is a litte bit too dark. Now that that's decided, I designed the inside of the sleeve.

I wanted it to be linked to the front design, and so picked out a section of the illustration and made it spread over the whole design where we would be able to see it. The first and middle box would be obscured as it folds over to produce the sleeve, but as we will be able to see just a sliver of the middle box I included the illustration on there as well.
Conclusion:
In the end I'm glad that I decided to go with a sleeve rather than a jewel case as it was more aesthetically pleasing, and I would be able to pick out textured paper to bring a bit of oomph to the design. If I chose a jewel case then you wouldn't be able to feel the texture of the paper.
No comments:
Post a Comment